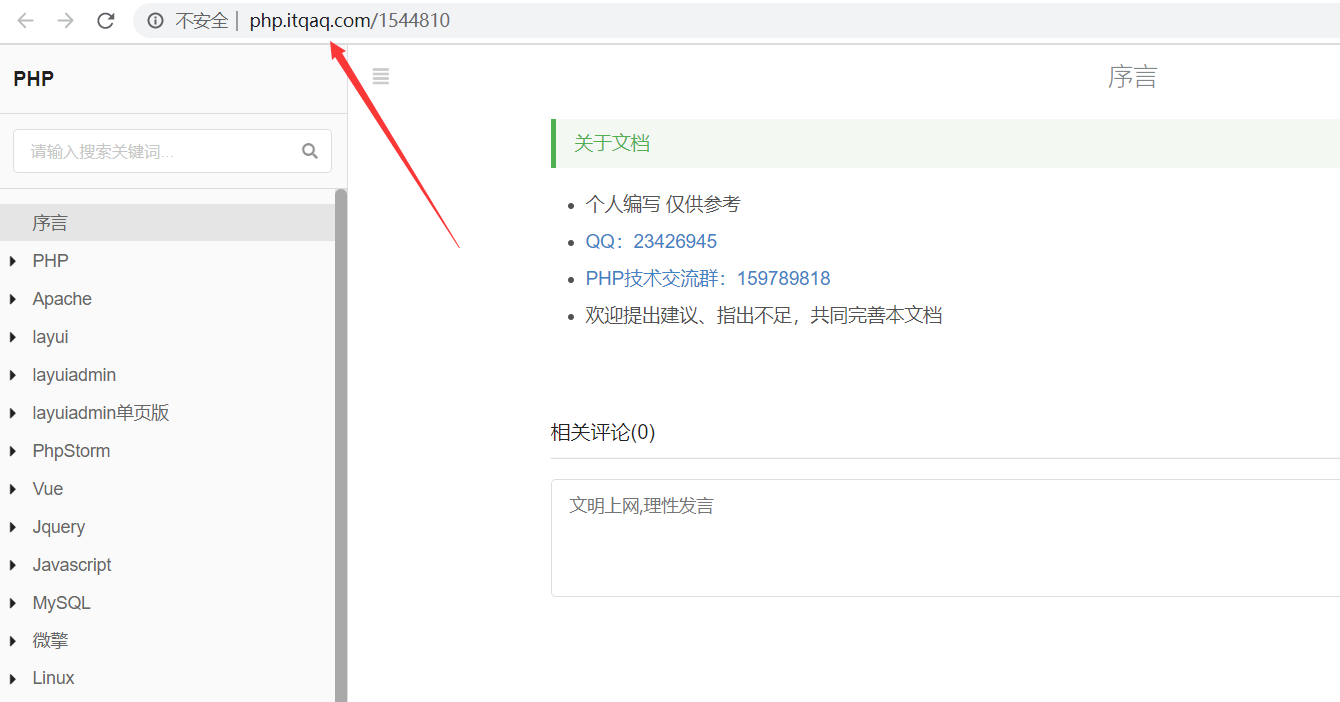
#### 1. 配置 DNS --- **a. 进入文档设置页面中的绑定域名,复制 `CNAME 记录值`** 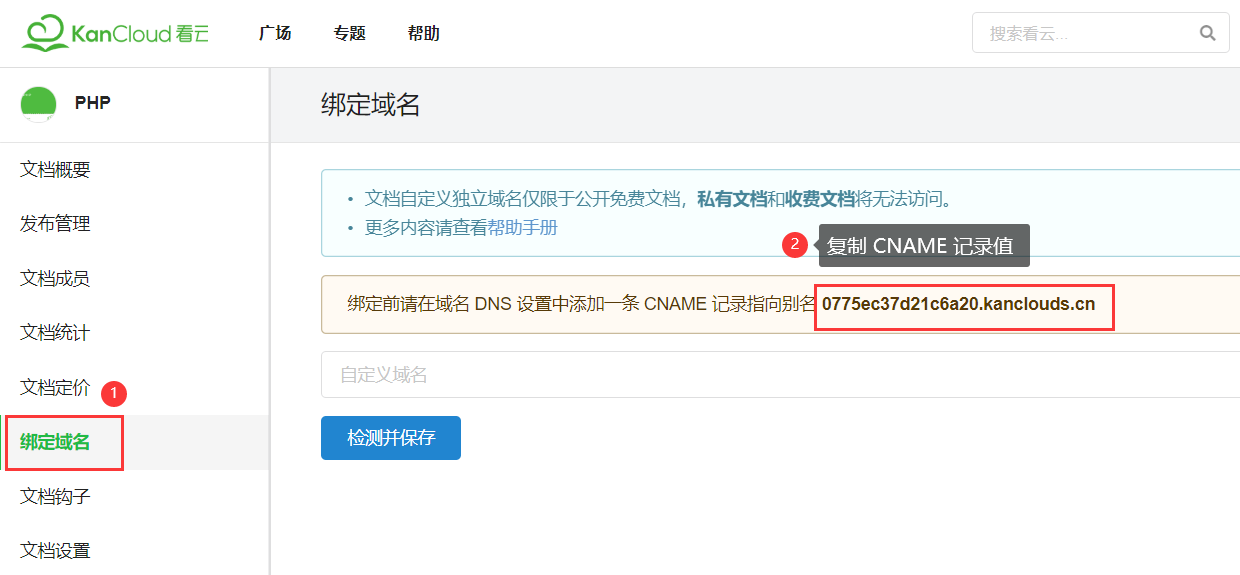 **b. 登陆阿里云解析域名** 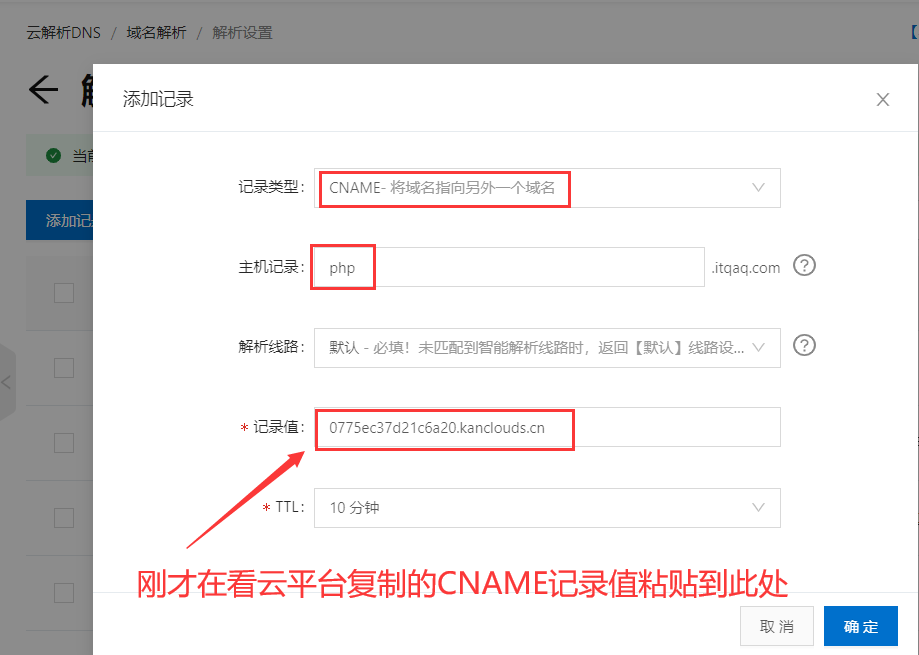 **c. 回到看云平台点击 `检测并保存`** 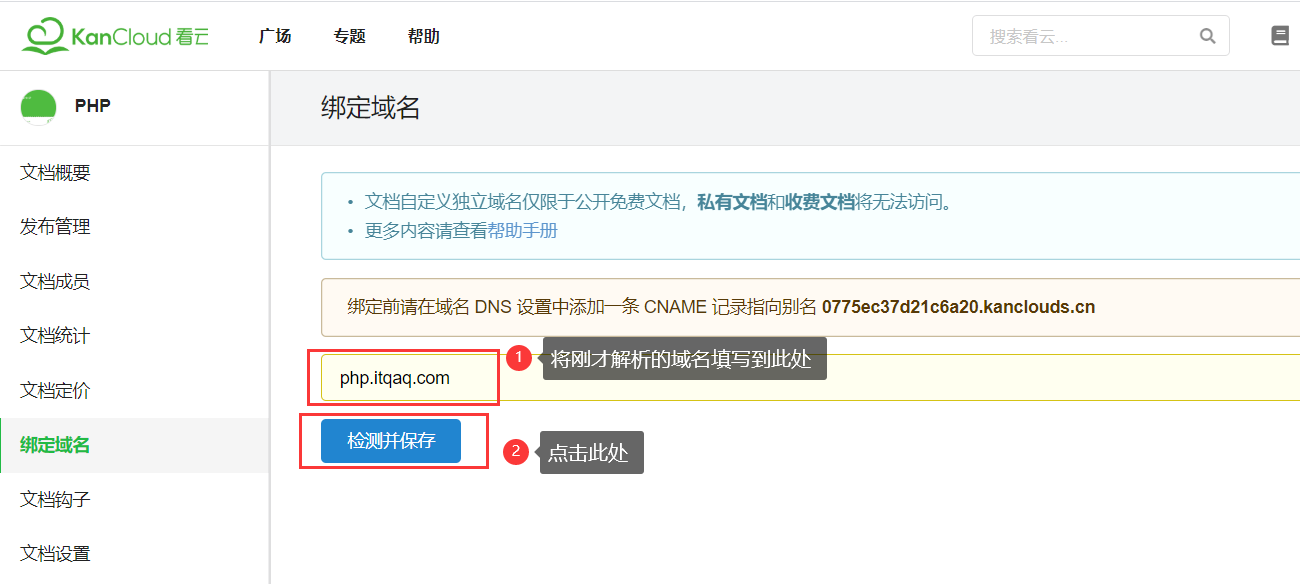 **d. 提示DNS配置正确** 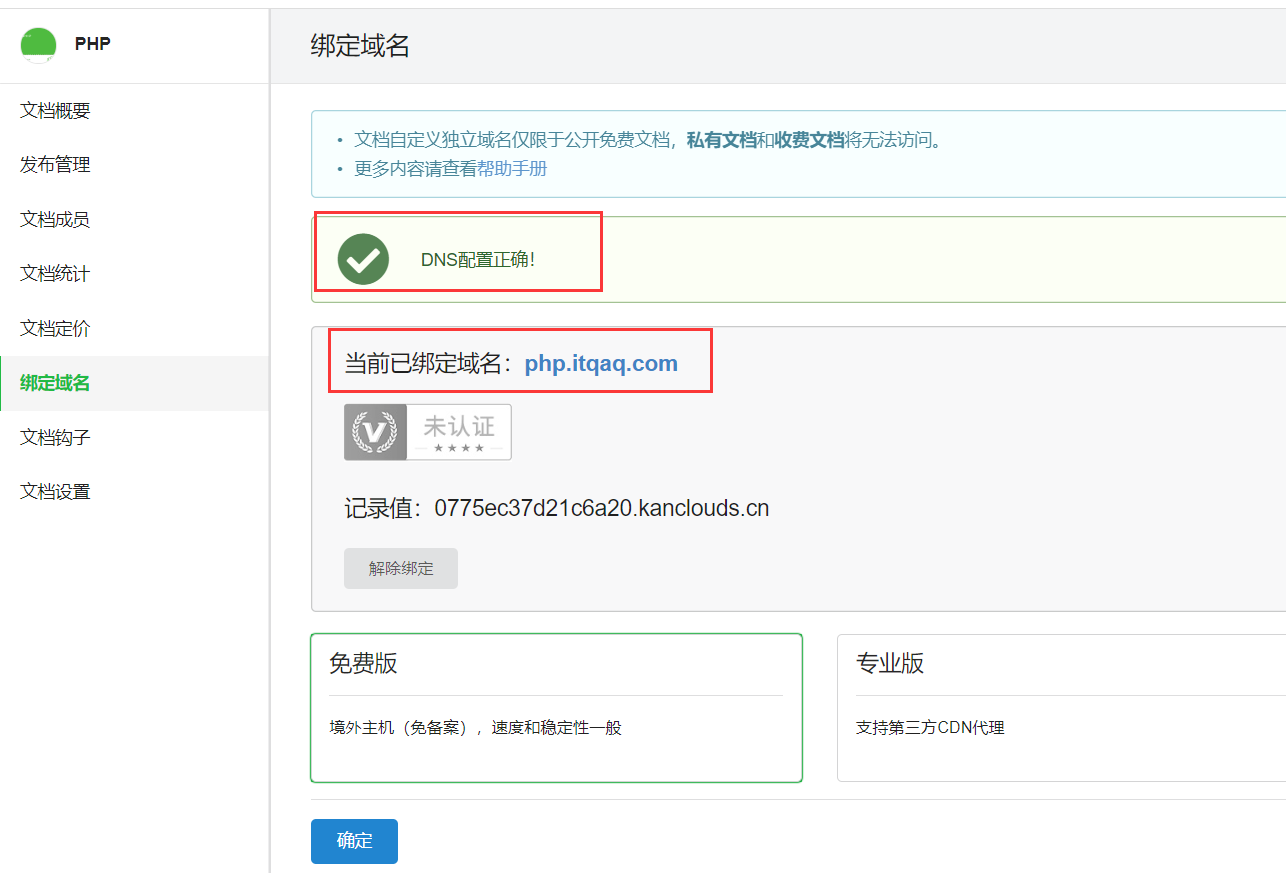 #### 2. 进入又拍云官网(第三方CDN) --- **a. 注册账号、实名认证、创建CDN服务** 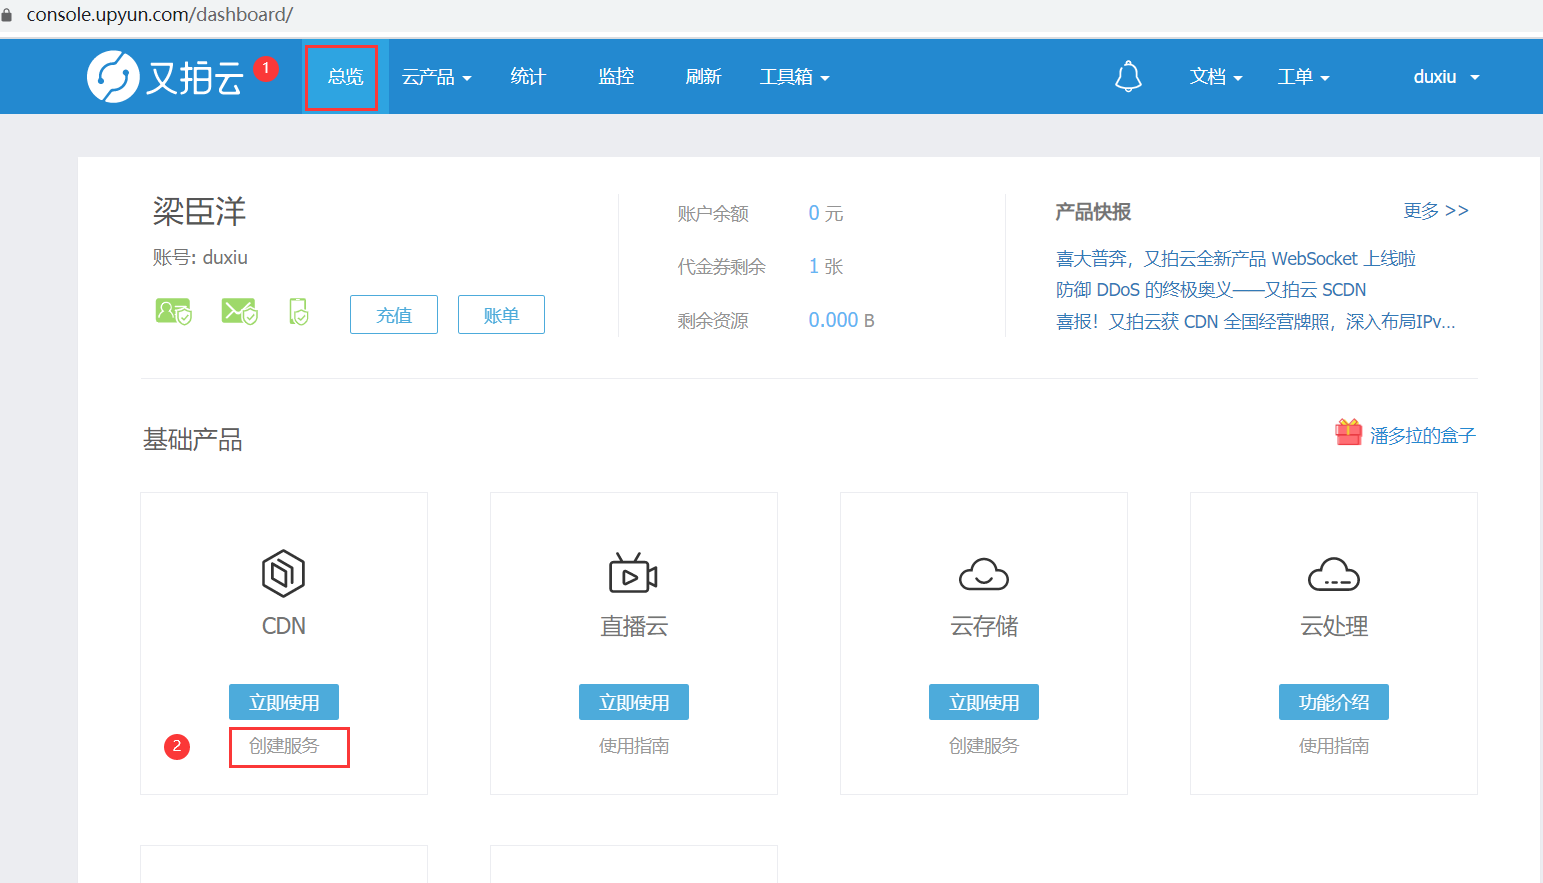 **b. 复制看云上的源站地址** 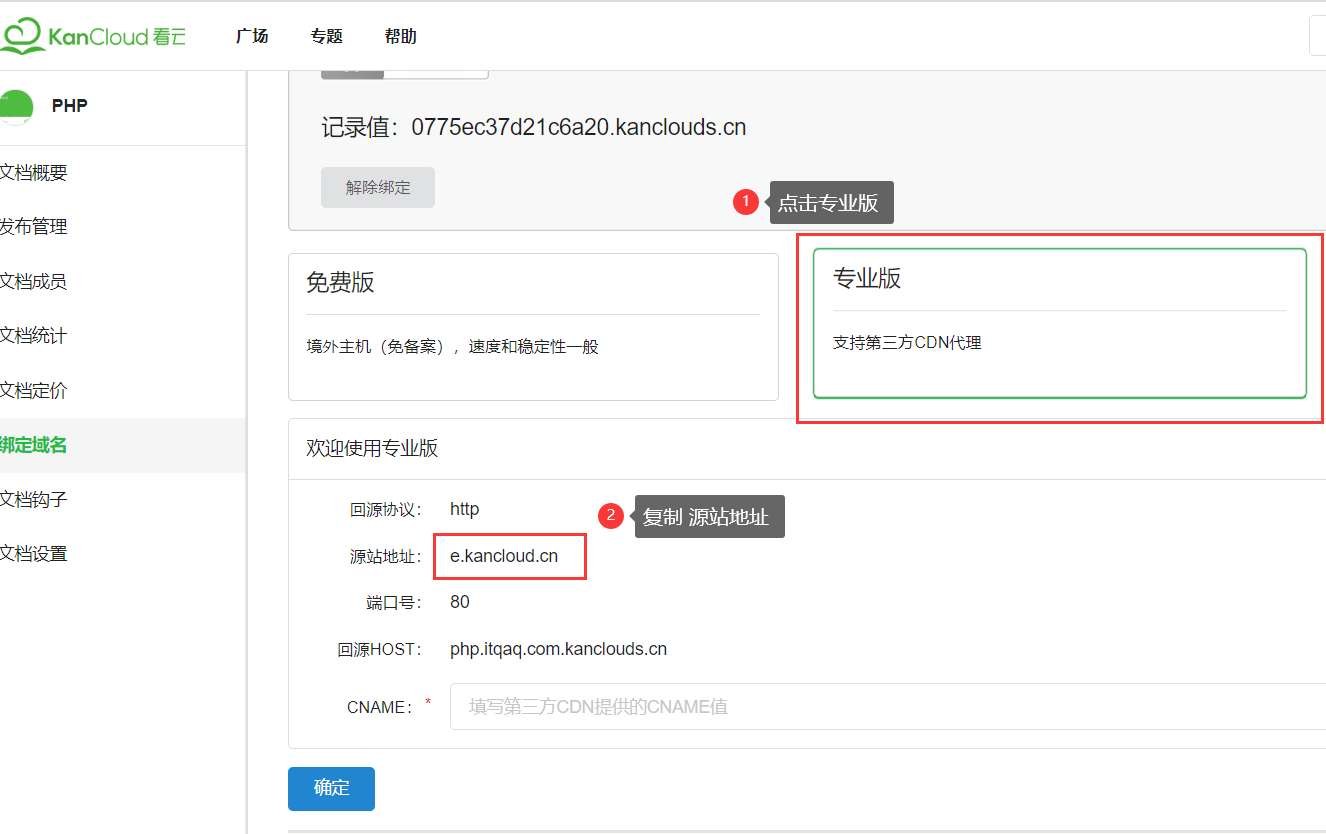 **c. 创建CDN服务** 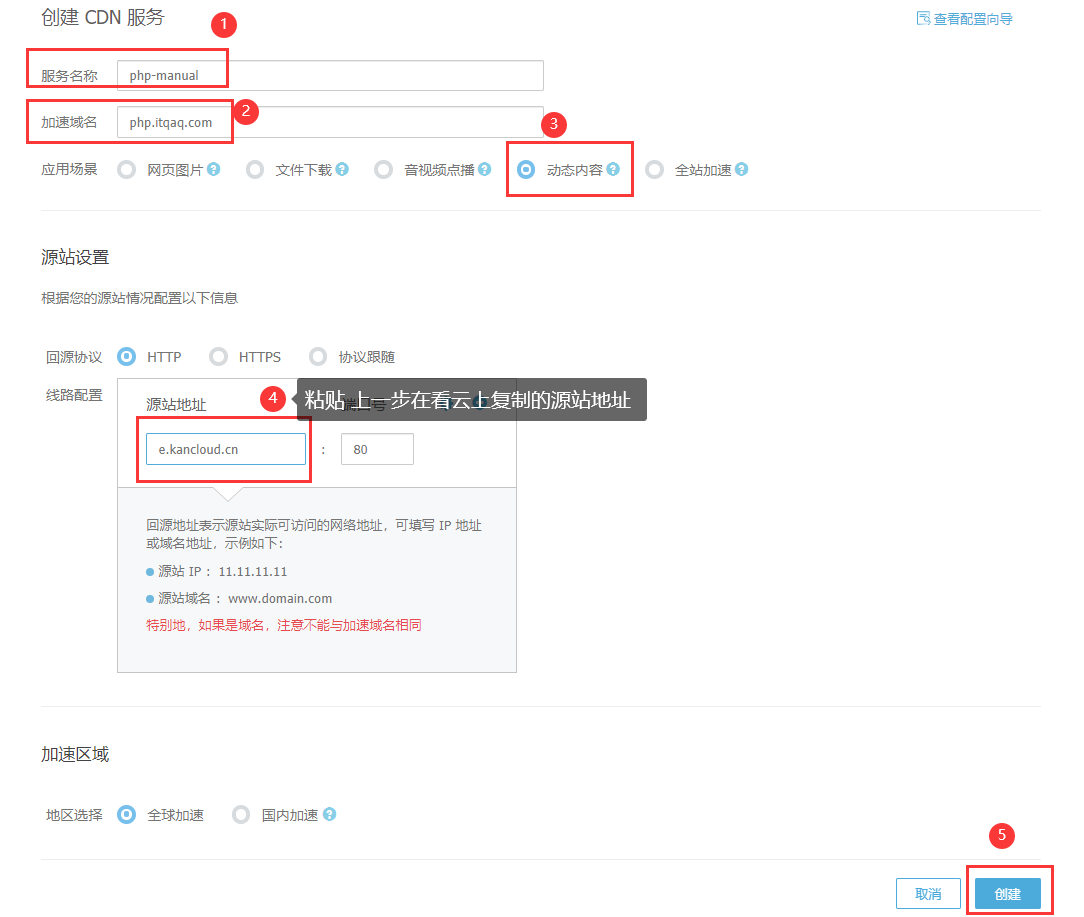 **d. 又拍云CDN服务创建成功后,会提供一个 `CNAME值`,复制该值** 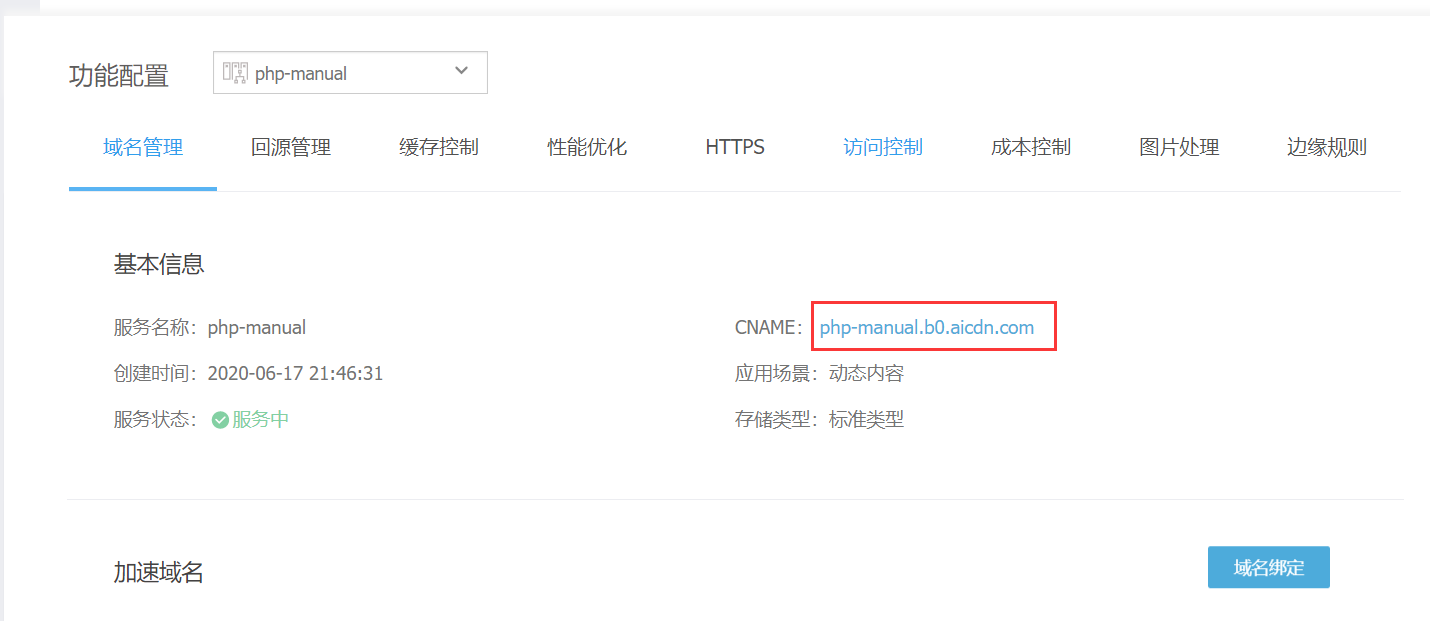 **e. 将又拍云给的 `CNAME值`,粘贴到看云平台上,点击 `确定`** 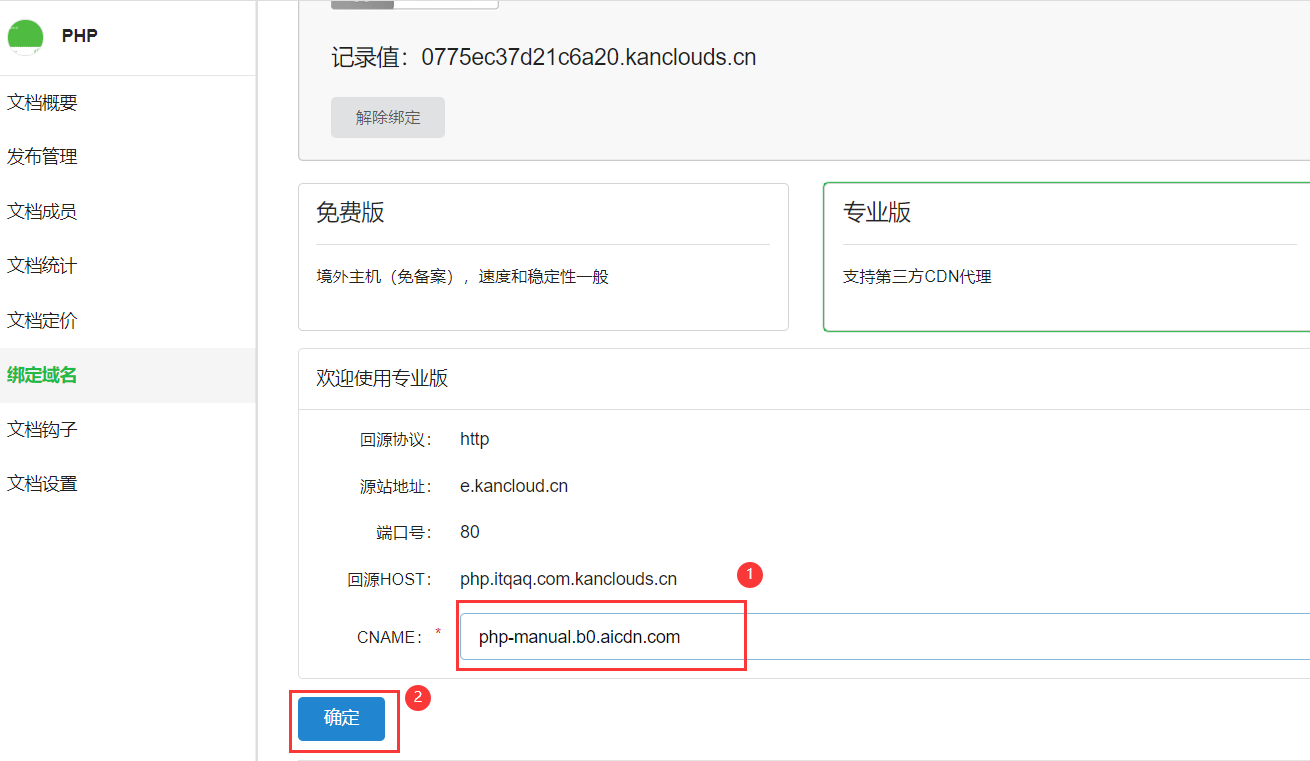 **f. 复制看云上的 `回源HOST`,准备粘贴到又拍云上** 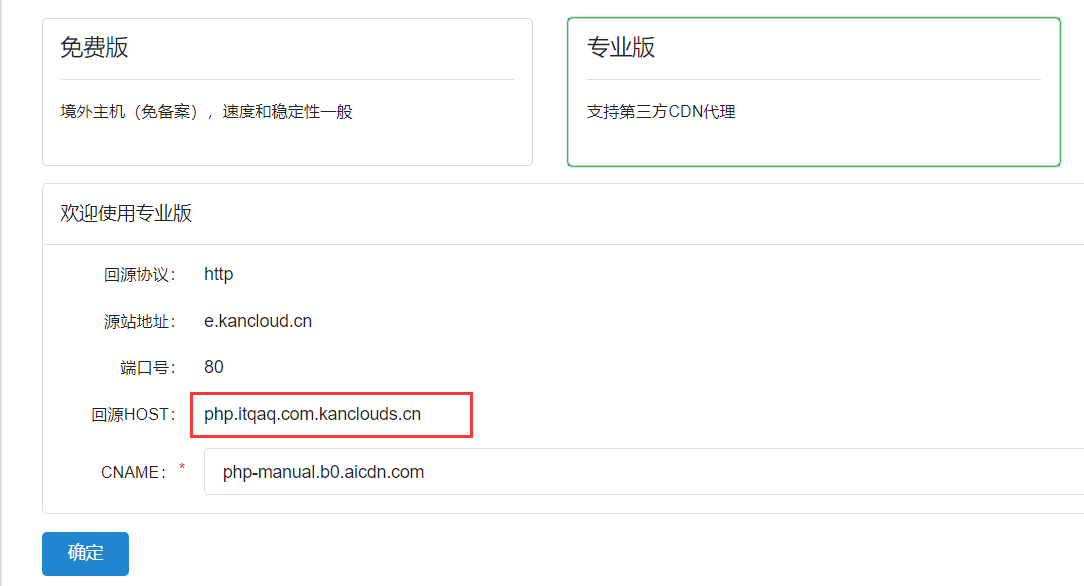 **g. 点击管理,准备配置回源HOST** 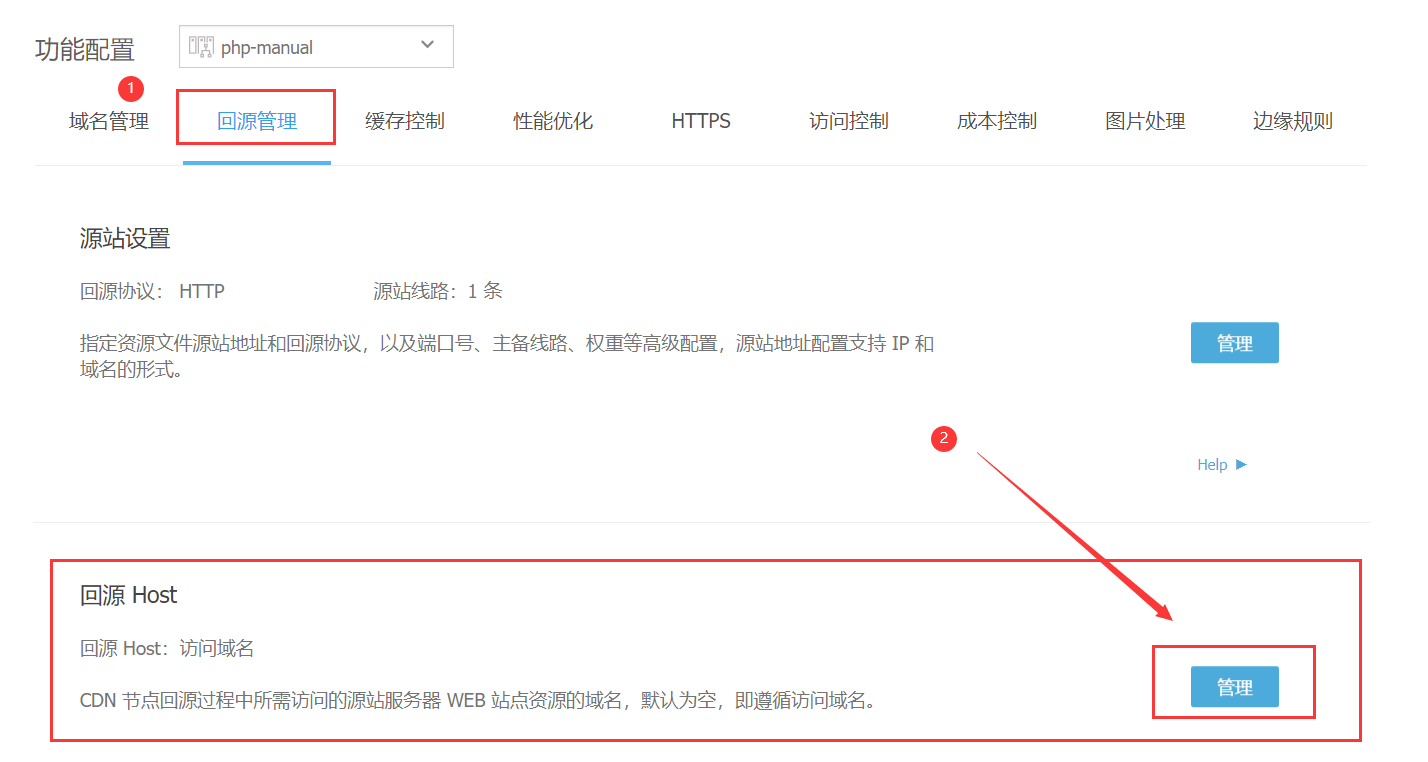 **h. 将从看云复制的回源HOST粘贴到此处,点击确定,配置成功** 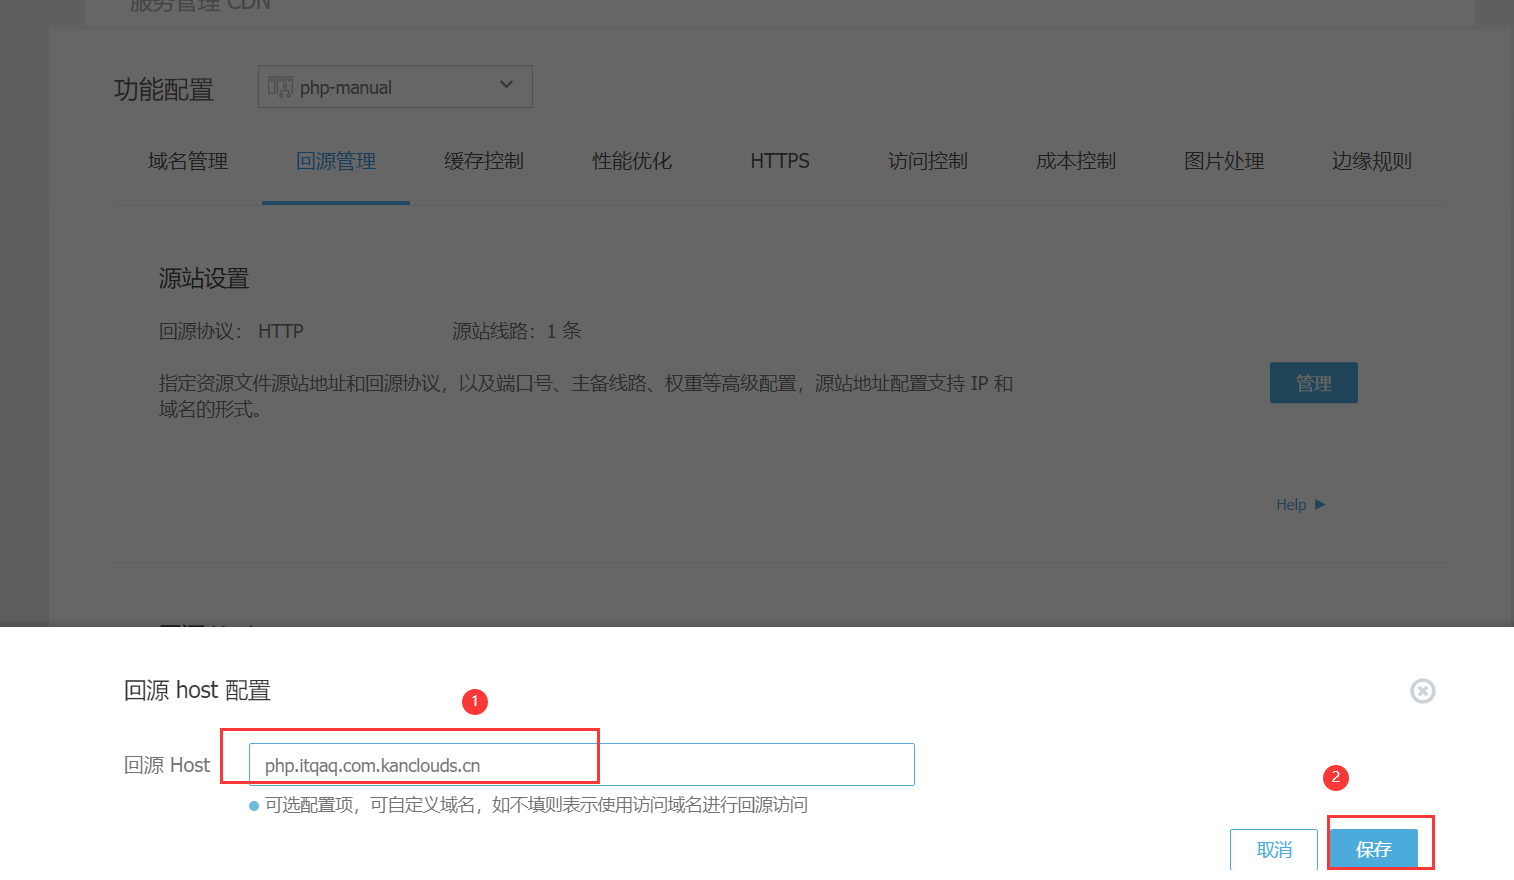 #### 3. 测试访问 --- **通过配置的域名访问看云文档**