[TOC] ### 一、安装 Redis #### 1. 下载 Redis 源码包 --- Redis官方下载站:[https://redis.io](https://redis.io) 源码包的链接地址:http://download.redis.io/releases/redis-6.0.8.tar.gz 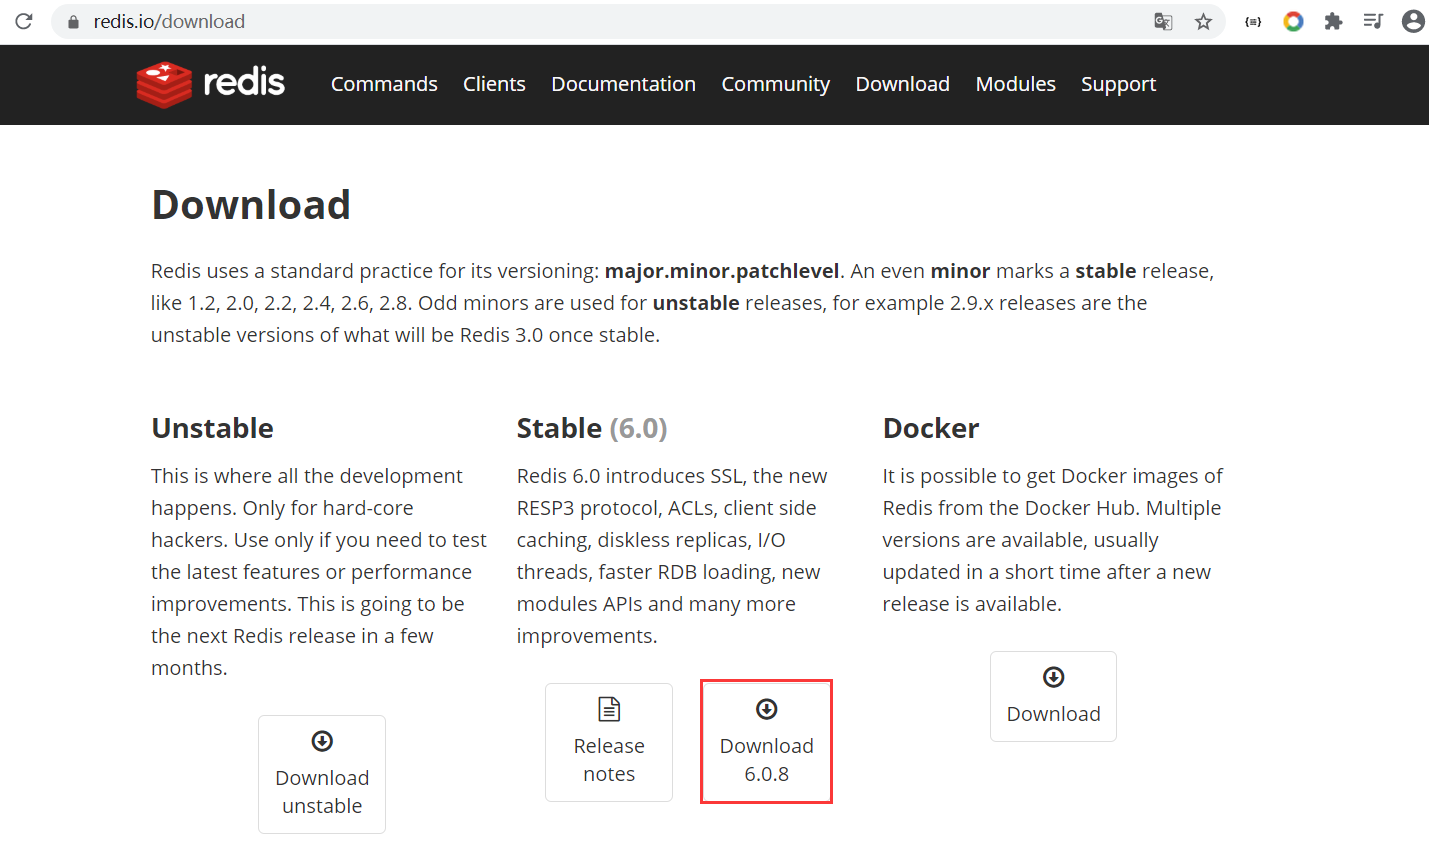 #### 2. 上传到 linux 服务器上(我用的是vmware中的centos7 最小化安装) **方法一:使用 wget 命令**  因为我用的是最小化安装,默认是没有安装 wget 命令,所以要使用 wget 命令必须先按照该命令的包 ``` yum install wget -y ``` 再执行该命令就可以将redis源码包下载下来,redis源码包很小(2.14 MB),使用 wget 下载命令很快的,推荐使用该方式 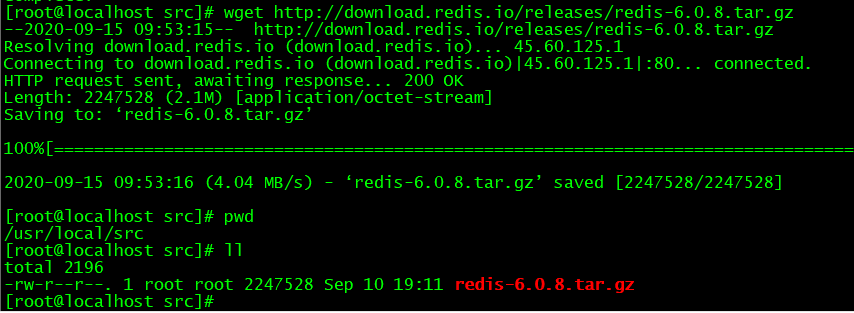 **方法二:使用 secureCRT 上传** 先将redis源码包下载到本地,然后打开 `SFTP窗口` 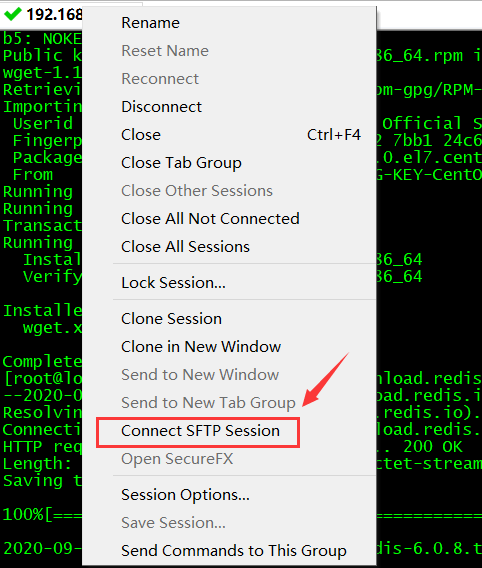 将文件直接拖动到 `SFTP窗口` 即可 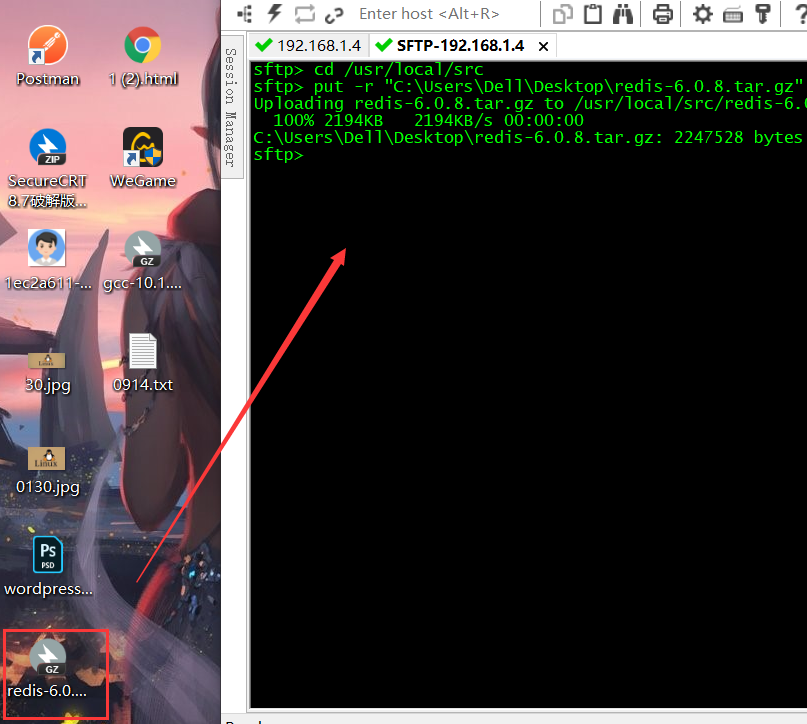 #### 3. 解压 Redis 源码包 --- ``` tar xf redis-6.0.8.tar.gz ``` 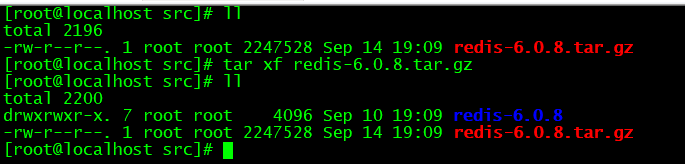 #### 4. 进入解压的目录,无需配置,直接编译进行安装 --- PREFIX 用于指定安装路径,必须大写,编译安装 nginx 时是小写,不要搞混了 ```bash make PREFIX=/usr/local/redis install ``` 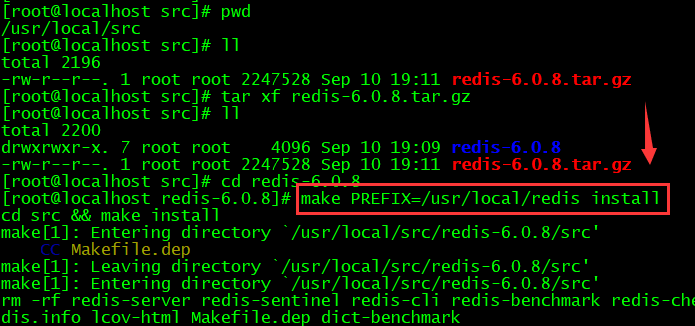 执行以上命令如果出现以下错误,代表没有安装 gcc 环境 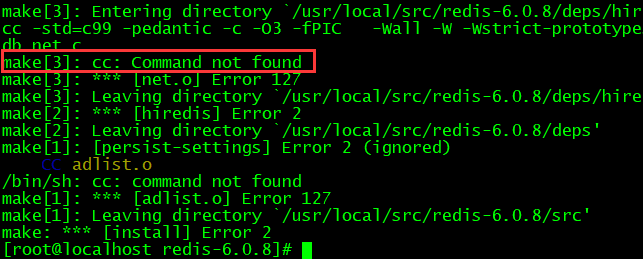 yum 安装 gcc ```bash yum install gcc gcc-c++ -y ``` 重新编译安装 ```bash make distclean && make PREFIX=/usr/local/redis install ``` 报错原因:gcc 版本太低,centos7.6 yum 下载的gcc版本是 4.8.5 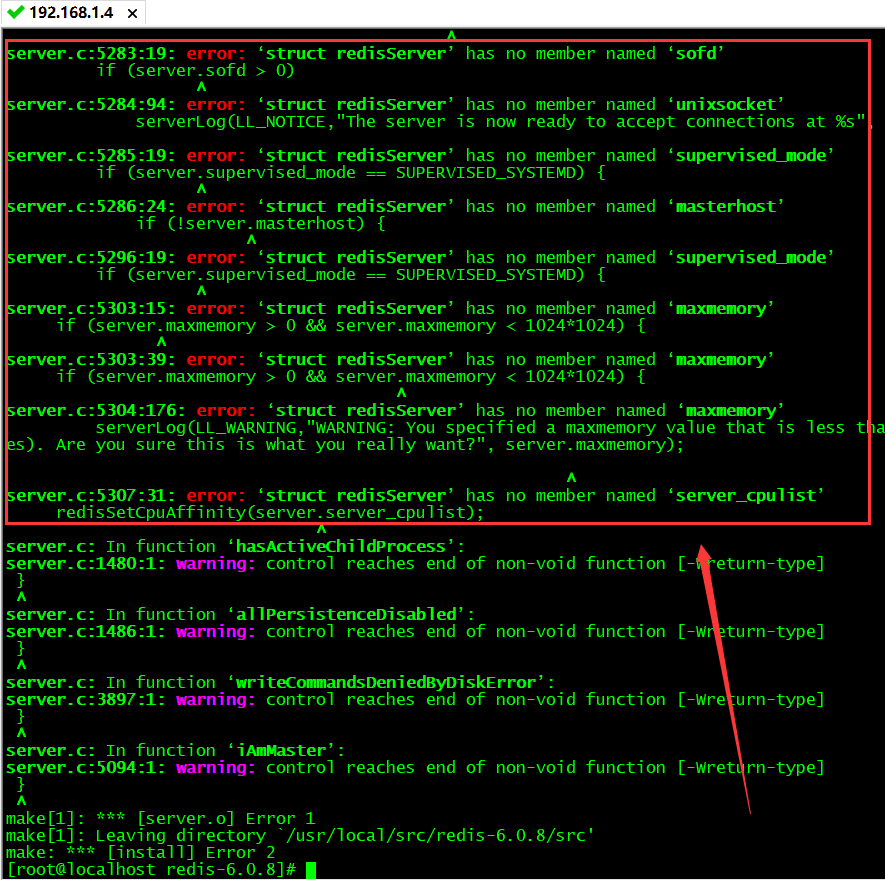 gcc 版本太低的解决办法: ``` # 查看gcc版本是否在5.3以上,centos7.6默认安装4.8.5 gcc -v # 升级gcc到5.3及以上,如下: 升级到gcc 9.3: yum -y install centos-release-scl yum -y install devtoolset-9-gcc devtoolset-9-gcc-c++ devtoolset-9-binutils scl enable devtoolset-9 bash 需要注意的是scl命令启用只是临时的,退出shell或重启就会恢复原系统gcc版本。 如果要长期使用gcc 9.3的话: echo "source /opt/rh/devtoolset-9/enable" >>/etc/profile 这样退出shell重新打开就是新版的gcc了 以下其他版本同理,修改devtoolset版本号即可。 ``` 第二次重新编译安装 ```bash make PREFIX=/usr/local/redis install ``` 命令执行结束显示以下内容代表编译安装成功 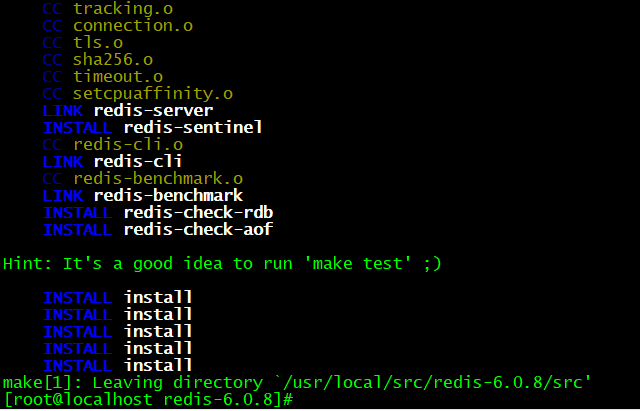 ### 二、启动 Redis 服务(redis-server) #### 1. 直接启动 Redis 进入 redis 的安装目录,运行 bin 目录下的 redis-server 文件 ```bash cd /usr/local/redis ./bin/redis-server ``` 这种启动方式需要一直打开窗口,不能进行其他操作,不太方便。按 ctrl + c可以关闭窗口 #### 2. 以后台进程方式启动redis 将 redis 源码包目录中的 redis.conf 拷贝到 redis 安装目录下 ```bash cp /usr/local/src/redis.conf /usr/local/redis/ ```  修改配置文件 /usr/local/redis/redis.conf 将 ```plaintext daemonize no ``` 修改为 ```plaintext daemonize yes ``` 指定 redis.conf 文件启动 ```bash ./redis-server ../redis.conf ``` 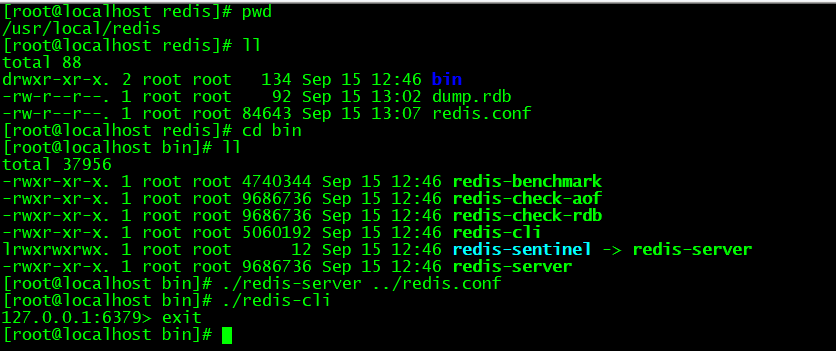 ### 三、关闭 Redis 进程 首先使用 `ps -aux | grep redis` 查看redis进程,再使用 kill 命令杀死进程 ```bash ps -aux | grep redis kill 13251 ```  ### 四、进入 Redis(redis-cli) 执行 Redis 安装目录下的bin目录下的 redis-cli 文件 ``` [root@localhost bin]# pwd /usr/local/redis/bin [root@localhost bin]# ll total 37960 -rw-r--r--. 1 root root 92 Sep 15 13:13 dump.rdb -rwxr-xr-x. 1 root root 4740344 Sep 15 12:46 redis-benchmark -rwxr-xr-x. 1 root root 9686736 Sep 15 12:46 redis-check-aof -rwxr-xr-x. 1 root root 9686736 Sep 15 12:46 redis-check-rdb -rwxr-xr-x. 1 root root 5060192 Sep 15 12:46 redis-cli lrwxrwxrwx. 1 root root 12 Sep 15 12:46 redis-sentinel -> redis-server -rwxr-xr-x. 1 root root 9686736 Sep 15 12:46 redis-server [root@localhost bin]# ./redis-cli 127.0.0.1:6379> ``` > 参考资料 https://www.bilibili.com/video/BV1zt4y1Q71k?p=2 https://blog.csdn.net/weidu01/article/details/105946606